
How To Integrate Facebook Pixel with Google Tag Manager

If you already use Google Analytics to track your marketing behaviour, it is a good idea to implement Facebook Pixels with the help of GTM (Google Tag Manager). With this you have an opportunity to track transactions and events, seamlessly on your site. As a result, you are able to prove your Facebook ad success (or failure), when building valuable data for future retargeting.
What Is Facebook Pixel
Facebook Pixel is a tool for setting up retargeting, optimizing ads and tracking conversions.
- Create target groups: With FB pixel, you can create a target group from people who undertake certain actions, or visit specific pages on your site (and on any other domain as well).
- Optimize ads: This tool allows you to optimize your ads for more conversions (for example, Facebook can use it to display ads to the people who have already visited your site's order page, but haven't finished the purchase).
- Track conversion: You can track the performance of your ads by recording conversion events (such as sign-ups or orders). You can find all the information in the reports.
Just like in Google Analytics, you can use this information for Facebook to:
- Target potential customers
- Better justify ad expenses
Why FP is so important?
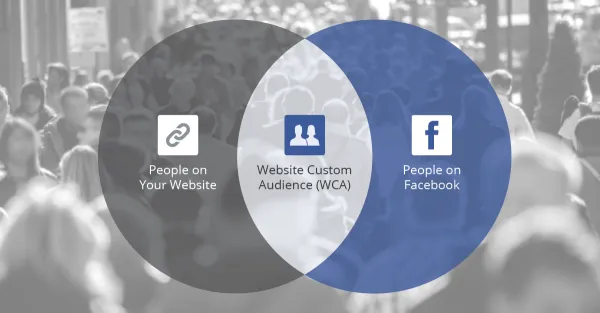
By using this tool, you can collect detailed data on actions and conversions resulting from Facebook traffic.
This can provide you with:
- A broader audience
- Different promotions and ads experiences
The icing on the cake is that Facebook Pixel can be integrated into your site in different ways, including using it with Google Tag Manager!
How to Set up Facebook Pixels Using Google Tag Manager?
If you use Google Tag Manager to manage code on your site and want to set up Facebook Pixels, follow these steps:
Set the basic Facebook pixel code:
- Open Google Tag Manager
- Select the container for your website and click Add a new tag.
- Click Custom HTML Tag.
- Enter the name of the tag.
- Go to your pixel page on Facebook
- Click Actions> View Pixel Code.
- Copy all the basic code as shown below.
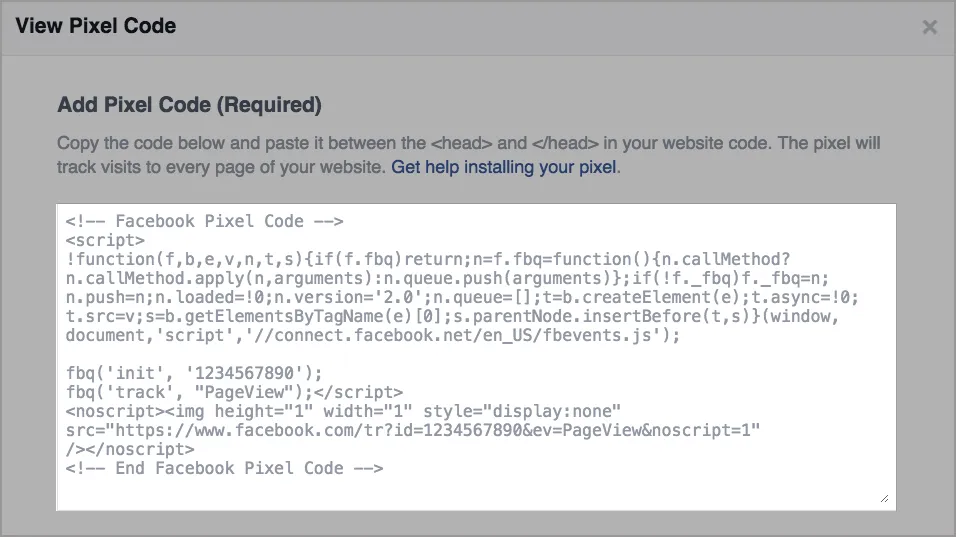
- Go back to Google Tag Manager and insert the code into the HTML container.
- Click the Advanced Settings drop-down list and select Once per page on the Tag firing options.
- In Fire On, select All Pages.
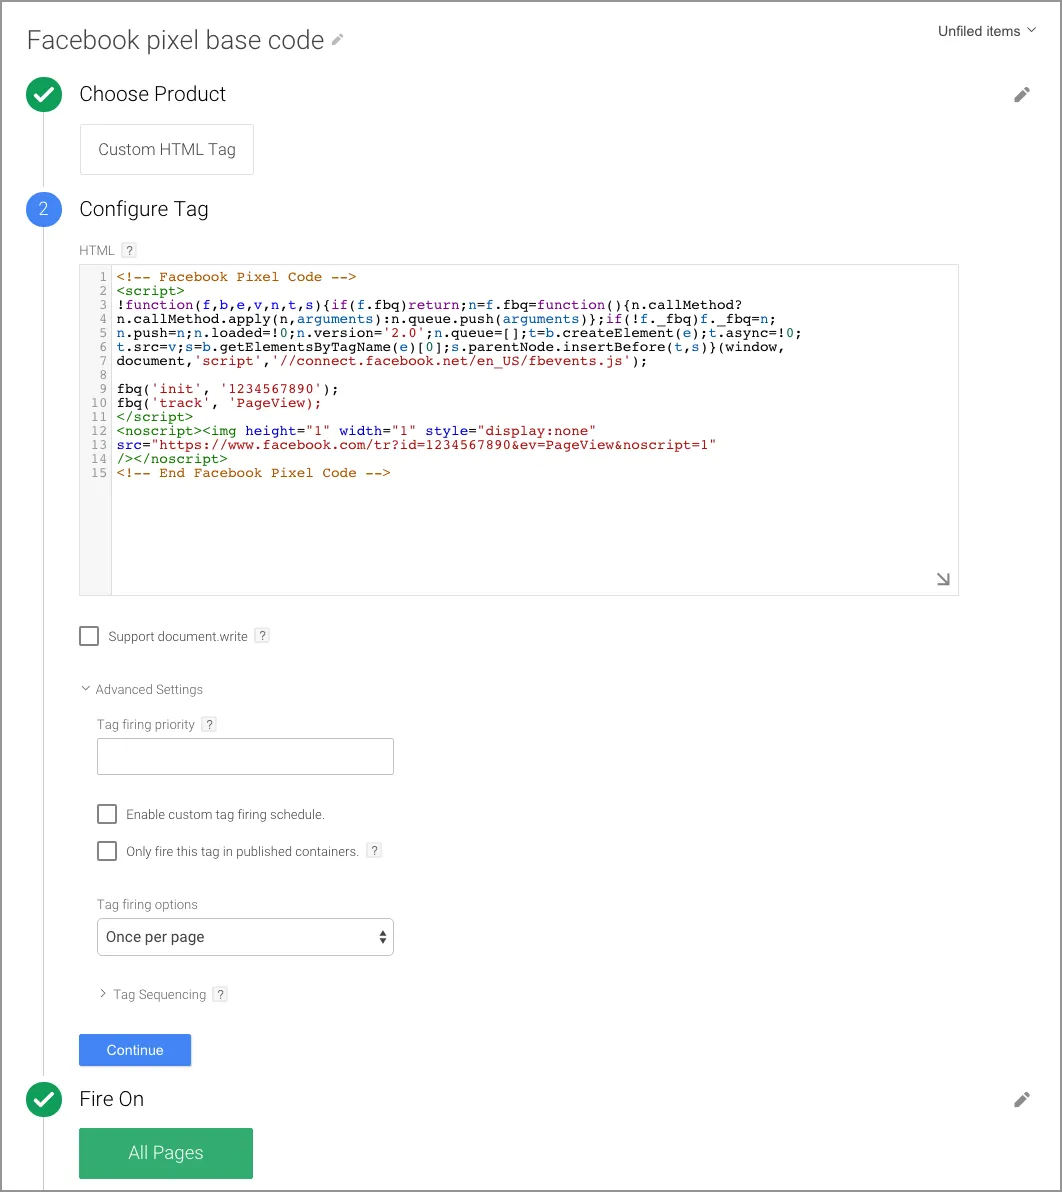
- Tap Create Tag
Create action tags
After setting up the basic code, you can create special tags for different types of pages and events on your website, such as product pages, add to cart buttons, shopping pages.
- First, create a new custom HTML tag.
- Enter the name of the tag, and paste the code snippets associated with the event and other variables, which are needed to be tracked. Keep in mind that the variables (such as "product_ids" and "product_name") may be different from the following examples.
- In the Advanced Settings drop-down list, select the Once per event option under Tag firing options.
- In Tag Sequencing, check the box and select the basic code tag so that this tag works according to the basic code.
- In Fire On, select the trigger which right for your site.
- Click Create tag
Make sure the pixel is working.
After loading all the events, check that the pixel has been triggered correctly. To verify that this is working properly on your website, follow these steps.
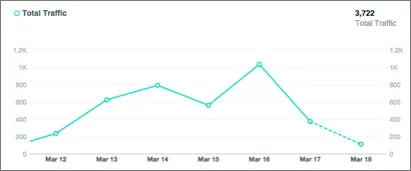
- Go to the web page where the pixel was set. If it is working, it will send the information back to Facebook, and you will see activity on the Facebook pixel page in Ads Manager. The status will also change to Active.
Note that the activity column displays all conversions, regardless of whether they are related to ads.
- If the tag does not work (No activity yet, No recent activity), use the Facebook Pixel Helper to find and fix the problem.
Remember, you need to use the Chrome browser to do this.
- Once the “Helper" is installed, a small icon appears next to the address bar. Go to your website in Chrome and click the "Pixel Helper" icon.
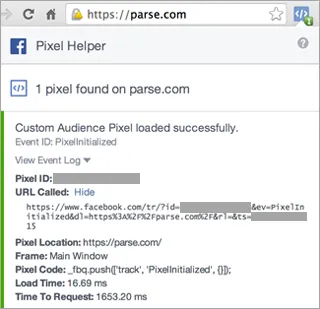
A pop-up window will show which pixels were found on the page, and were successfully downloaded. If they are not loaded, you will even be able to find out why.
Final Thoughts
Facebook Pixel is an efficient analytics tool that helps you measure the performance of Facebook campaigns, based on what users are doing on your website. With its help, you could know much more about your user’s behaviour, and to create better targeted campaigns directly in your Facebook Ad Manager account.
Using GTM to integrate your Facebook Pixel is a simple way, and based on this example you can implement integration with all social networks, which you would like to track in detail. So, it’s a well-rounded solution to increase your ad campaign efficiency for all social channels.


